
How to Install an eSIM on a Google Pixel (Step by Step)
 co:sim Team
To install an eSIM (embedded SIM) on a Google Pixel, open Settings, tap Network & internet, tap SIMs, then tap Add SIM and choose Set up an eSIM — scan the QR code your provider emailed you, and follow the on-screen prompts. The whole process takes about five minutes over Wi-Fi, and the steps stay identical on your first eSIM or your fifth: a data-only travel eSIM (mobile data only, no phone number) like co:sim's installs through this exact path, since Pixel doesn't distinguish between providers at the settings level. This guide covers which Pixel models actually support eSIM, the full step-by-step, and the fixes that solve almost every Pixel eSIM failure.
#Which Google Pixel Phones Support eSIM?
Every Pixel from the Pixel 4 onward supports eSIM without exception, according to Google's own device list. Older models are more selective: the Pixel 3a works unless it was bought from Verizon or in Japan, the Pixel 3 only works on a handful of carriers (Sprint and Google Fi) and never if it was sold in Australia, Taiwan, or Japan, the Pixel 2 works only with Google Fi, and the original 2016 Pixel has no eSIM hardware at all. On the newest end of the range, Google confirms that US units of the Pixel 10, Pixel 10 Pro, and Pixel 10 Pro XL drop the physical SIM tray entirely — eSIM is the only option, not a choice.
Two more things to sort out before you start: your Pixel needs to be carrier-unlocked (a locked phone blocks any SIM, physical or digital, from another provider — more on that below), and you'll want a stable Wi-Fi connection, since the eSIM profile downloads over the internet before your phone can use it on a cellular network. Have your provider's QR code ready too; co:sim emails it within seconds of checkout, so most travelers install it at home, days before a trip, rather than scrambling at the airport.
#How Do You Install an eSIM on a Pixel Phone?
With those checks out of the way, the install itself is short. On any current Pixel, Google's instructions are:
- Open the Settings app.
- Tap Network & internet.
- Tap SIMs.
- Tap Add SIM.
- Tap Set up an eSIM.
- When prompted, scan the QR code your provider sent — point the camera at the code and hold steady until it's recognized.
- Follow the remaining on-screen prompts, then give the phone a moment to download and verify the profile.
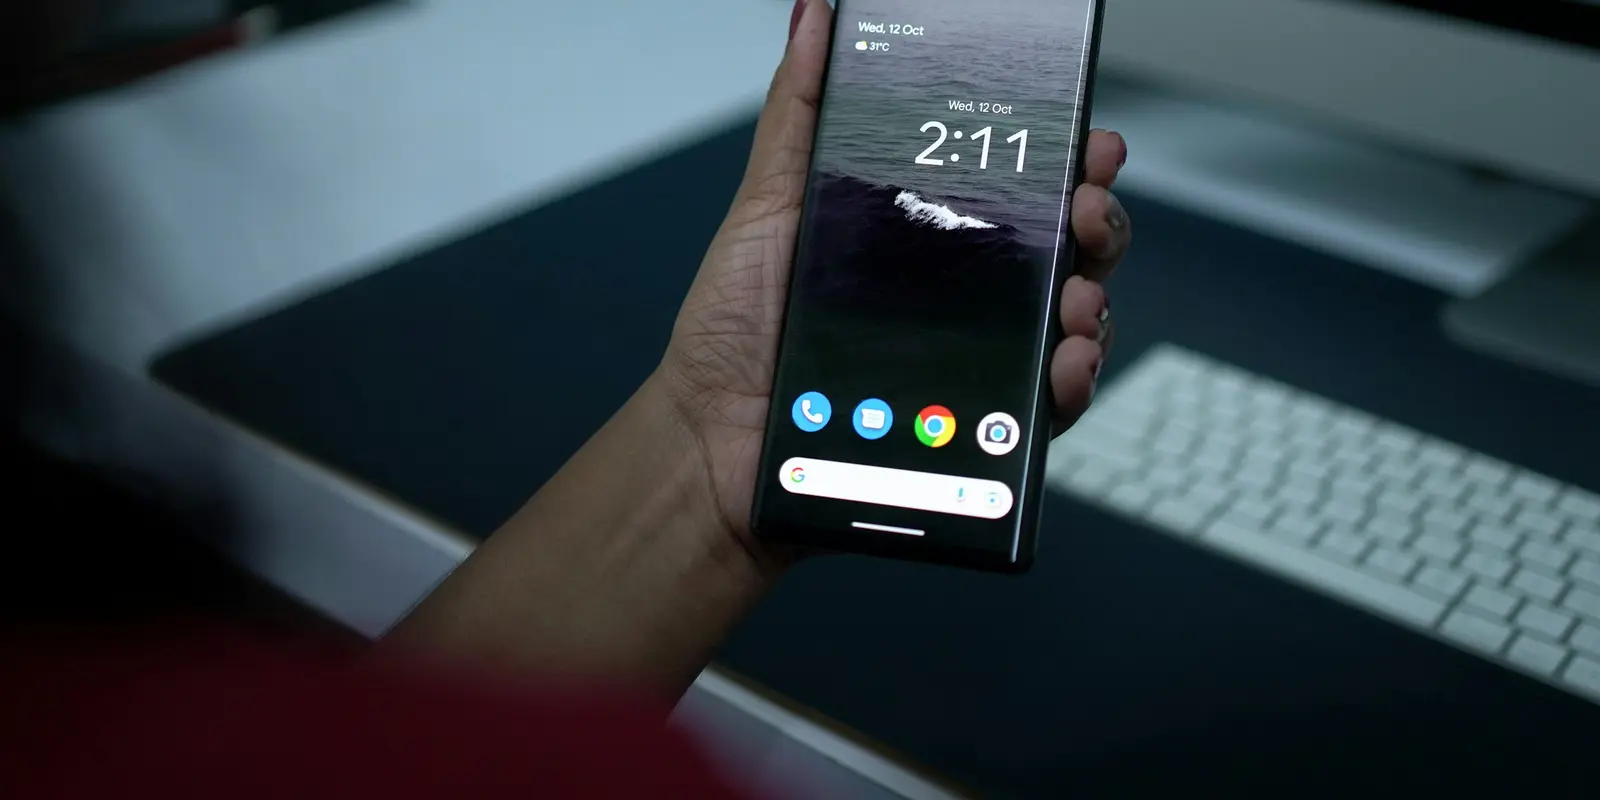
Once the profile finishes downloading, name it something you'll recognize later. co:sim's plan page lists the network it runs on, the install deadline, and whether the plan supports reloading, so it's worth a quick look before you land so nothing catches you off guard mid-trip.
#Can You Add an eSIM During Initial Pixel Setup?
Yes. If you're activating a brand-new Pixel, Google's onboarding flow includes its own eSIM step: during setup, tap Download SIM, then Set up, and follow the same on-screen QR prompts as above. It's the same underlying process, just triggered from the welcome screen instead of the Settings app — useful if you're setting up a dedicated travel phone from scratch.
#Why Won't My Pixel Add an eSIM?
Most Pixel eSIM failures come down to one of three causes.
#Why Isn't "Set Up an eSIM" Showing in Settings?
If Add SIM only offers a physical SIM option, or the eSIM entry is missing entirely, the most likely cause is an older, unsupported model — check the compatibility list above first. The next most common cause is a weak or blocked connection: switch from mobile data to Wi-Fi, and avoid hotel or airport networks that require a login page before granting real internet access, since those quietly block the profile download instead of showing an obvious error.
#Why Won't the QR Code Scan?
A code that won't scan is almost always a screen or camera issue rather than a broken code: raise the other screen's brightness, hold the Pixel steady about six inches away, and make sure you're scanning the live code rather than a screenshot (some providers deliberately block screenshots, since a code should only activate once). If scanning still fails after a few tries, carriers and travel eSIM providers support entering the activation details manually as a fallback — the option appears on the same Set up an eSIM screen, usually worded "Enter details manually."
#Why Does a Carrier-Locked Pixel Reject a Travel eSIM?
Carrier locking is software a seller adds on top of a fully working eSIM chip, and it blocks any SIM, physical or digital, from another network — co:sim included, along with every other provider. Check your lock status under Settings > Network & internet > SIMs: if the phone only ever finds your original carrier and refuses anything else, it's locked, and you'll need to request an unlock from whoever sold it before a travel eSIM will connect.
#FAQ
#Do I need Wi-Fi to install an eSIM on a Pixel?
Yes, for the download step. A Pixel needs an active internet connection, Wi-Fi or mobile data, to pull the eSIM profile from your provider's server before it can install it; Google's setup guide walks through the same Settings > Network & internet > SIMs path regardless of connection type, but Wi-Fi is the more reliable choice, since some carriers throttle or block profile downloads over mobile data. Once installed, the profile activates over the cellular network like any other SIM, so continued Wi-Fi isn't needed afterward. This is exactly why co:sim recommends installing before you leave home — download a Thailand eSIM or any other destination on your home Wi-Fi in a few minutes, and land already connected instead of hunting for an airport network first.
#Can I use an eSIM and a physical SIM at the same time on a Pixel?
Yes, on Pixel 3a and later. Google's dual-SIM guide confirms these models run Dual SIM Dual Standby (DSDS): one physical SIM plus one eSIM, both reachable, though only one carries the active mobile data connection and the other stays on standby for calls and texts. Pixel 7 and later go a step further and can run two eSIMs together instead of one physical plus one digital, if the carrier on both profiles allows it. For travelers, the common setup is leaving the home SIM in for calls and texts while a data-only eSIM like co:sim's handles mobile data abroad, since a data-only plan carries no phone number to conflict with the existing line. Open Settings > Network & internet > SIMs afterward, select the new eSIM, and set it as the default for mobile data, so the phone doesn't fall back to expensive home-carrier roaming by accident the moment you land.
#Does installing an eSIM on my Pixel activate it right away?
No, not automatically. Installing a profile just adds it to the phone; most travel eSIMs, including co:sim's, only start their validity window once the eSIM connects to a network for the first time, though some plans instead start counting from the moment of purchase, so it's worth checking the specific plan page before buying. That distinction is why installing a Pixel eSIM at home, days before a trip, is generally safe: the profile sits ready on the phone without burning any validity, and it only goes live once you land and it finds a signal. It also matters for refunds: uninstalled eSIMs can be refunded within 30 days of purchase (some plans that bill immediately at purchase are excluded — check the plan page), but that protection ends the moment you install and activate the profile, so hold off installing if a trip might still get cancelled.
#Can I transfer my Pixel's eSIM to a new phone?
Sometimes, depending on the provider. Google's own transfer tool, under Settings > Network & internet > SIMs > Add SIM > Transfer SIM from another device, moves compatible eSIMs between two Pixels or from certain other Android phones. Most travel eSIMs, however, are tied to the device that first activated them and can't be transferred once installed — if you switch phones mid-trip, the more reliable fix is usually installing a fresh eSIM on the new device rather than attempting a transfer, since a failed transfer can leave you without a working profile on either phone.
Installing an eSIM on a Pixel takes about five minutes once you know the menu path, and the same six taps work whether it's your first travel eSIM or your tenth. If you're shopping for a travel eSIM for that exact process, a data-only plan like co:sim's is a good fit: the QR code lands in your email within seconds of checkout, coverage runs to 190+ destinations across single countries and multi-country regional bundles, and a reloadable plan tops up the same profile you just installed without repeating any of these steps.