
How to Install an eSIM on iPhone: Step-by-Step Setup Guide
 co:sim Team
Installing an eSIM on an iPhone takes about five minutes: open Settings → Cellular → Add eSIM, scan the QR code from your provider's email, then set the new line as your mobile data line. The details matter, though — a locked phone, a skipped setting, or deleting the wrong profile can leave you offline exactly when you need data. This guide covers both install methods, the settings that prevent surprise roaming bills, and the fixes for the most common errors.
#Before you start
Three checks save most support tickets:
- eSIM support. iPhone XS and newer support eSIM. If you see Add eSIM under Settings → Cellular, your phone qualifies. The eSIM standard itself is defined by the GSMA — the profile downloads into a secure chip built into the phone, so there is nothing physical to insert.
- Carrier lock. A carrier-locked iPhone will install an eSIM but refuse to use it. Check Settings → General → About → Carrier Lock: it should say No SIM restrictions. If it names your carrier, Apple's unlock guide explains that only the carrier can unlock it — sort this out well before a trip.
- Wi-Fi. Downloading an eSIM profile needs a working internet connection, which is exactly what you will not have on arrival. Install at home.
#Method 1: scan the QR code
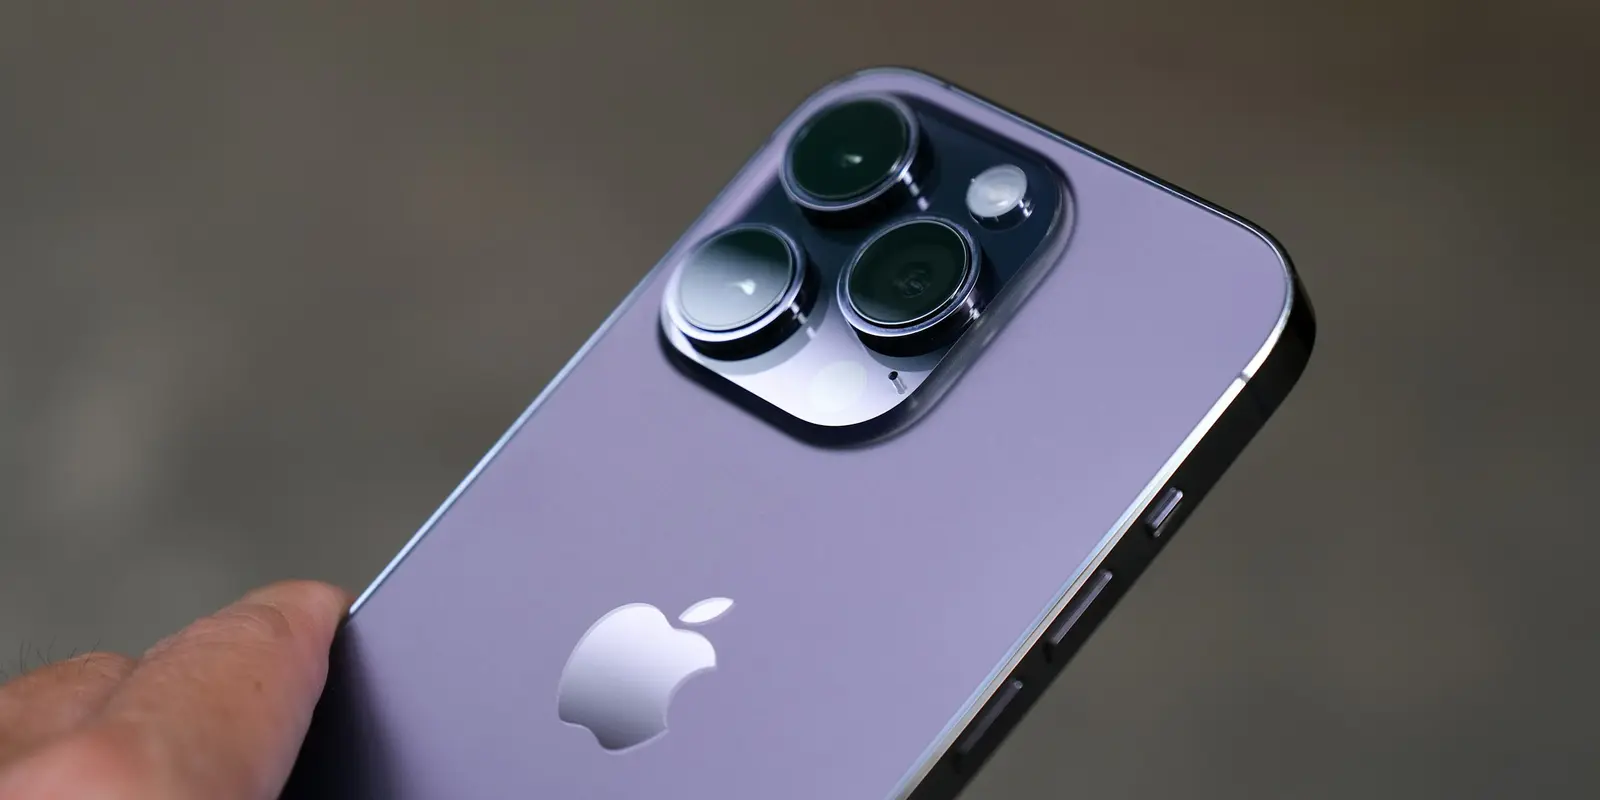
This is the standard flow, and it matches Apple's official eSIM setup steps:
- Open Settings → Cellular (called Mobile Service in some regions).
- Tap Add eSIM, then Use QR Code.
- Point the camera at the QR code from your provider's delivery email — open it on another screen, or print it.
- Follow the prompts. When asked, keep your main line as the default for calls and SMS.
On iOS 17.4 or later there is a faster path: long-press the QR code image directly in Mail, then tap Add eSIM — no second screen needed. co:sim delivers that email within seconds of checkout, so purchase and install fit in one sitting.
#Method 2: enter details manually
No camera, or the QR code will not scan? Every eSIM ships with the same two values in text form: an SM-DP+ address and an activation code.
- Settings → Cellular → Add eSIM.
- Tap Use QR Code, then Enter Details Manually at the bottom.
- Paste the SM-DP+ address and activation code from your delivery email.
#The three settings that prevent roaming bills
Installing is half the job. Right after install:
- Label the lines. Name the new line after your trip ("Japan") so the SIM list stays readable.
- Set the eSIM as your data line. Settings → Cellular → Cellular Data → select the travel eSIM. Your home SIM stays active for calls and verification texts.
- Turn OFF data on the home line. Disable Data Roaming on your home SIM and leave Allow Cellular Data Switching off. This is the setting that stops the phone from quietly falling back to expensive home-carrier roaming.
#If it does not work
#The eSIM installed but there is no service
Most likely you are still at home: many travel eSIMs only connect at the destination, on the networks the plan actually covers. If you are already abroad, toggle Airplane Mode for ten seconds, then check Settings → Cellular to confirm the travel eSIM is the selected data line and that Data Roaming is ON for the travel line (travel eSIMs typically need it).
#The QR code will not scan
Screens with low brightness or scaling are the usual cause. Turn the source screen's brightness up, or switch to manual entry — it is the same activation data.
#"eSIM Cannot Be Added"
Usually one of three things: the eSIM was already installed once (most travel eSIMs are single-install), the phone is carrier-locked, or the install deadline passed. Check the plan's terms (co:sim states each plan's install deadline on the plan page), then contact the provider's support before buying a replacement.
#You deleted the eSIM by mistake
Deleting an eSIM profile is not like removing a physical SIM — you cannot reinsert it yourself. Contact the provider; some can re-issue an activation, but many travel plans are single-install by design. Never delete a travel eSIM mid-trip as a troubleshooting step.
#FAQ
#Do I remove my physical SIM when using a travel eSIM?
No. iPhones run dual SIM: the physical SIM and the eSIM work side by side. The recommended setup keeps your home SIM enabled for calls and SMS (so bank verification codes still arrive) while the travel eSIM carries all mobile data. The one critical detail is turning off Data Roaming on the home SIM — with it on, a phone can silently route data through your home carrier at roaming rates even while a perfectly good travel eSIM sits next to it. Set the travel line as the data line, disable data switching, and the two SIMs coexist without surprises.
#When should I install a travel eSIM — at home or on arrival?
At home, on Wi-Fi, a day or two before flying. The profile download needs internet, and airport Wi-Fi at arrival is the least reliable connection of the whole trip. Installing early costs nothing on plans that start counting validity at first connection at the destination — the eSIM sits dormant until you land. Check two lines on the plan page before buying: the install deadline (travel eSIMs must be installed within a set number of days after purchase) and the billing-start rule (first connection vs at purchase). On co:sim, both lines are stated on each plan page and again at checkout, so you can time the purchase and the install against your departure date; buying within a week or two of flying keeps both windows comfortably open.
#How many eSIMs can an iPhone store?
Recent iPhones store multiple eSIM profiles (typically eight or more) with one or two active at a time, so you can keep profiles from past trips installed alongside your current one. Old expired profiles cannot bill you, but they clutter the SIM list and can be selected as a data line by mistake. Housekeeping rule: after a trip ends and you are sure the plan is finished, delete its profile; during a trip, never delete anything. If you travel frequently to the same destination, check whether your plan supports top-ups instead of buying a fresh eSIM each time.
#Does an eSIM work without Wi-Fi?
After installation, yes — an eSIM provides mobile data exactly like a physical SIM, no Wi-Fi involved. The only step that requires an existing internet connection is the initial profile download (and any carrier-settings update right after). That is the entire reason to install before departure: at home the download takes a minute on your own Wi-Fi; in an arrivals hall it competes with a plane-load of people on congested airport networks. Once the profile is on the phone and you have landed, the eSIM connects to the local network on its own.
Mexico
1-day trip pass
From $2.99
Canada
1-day trip pass
From $2.99
Brazil
Valid 7 days
From $3.99
Buying for a specific trip? co:sim's destination plans like the Japan eSIM list supported networks, validity, and install deadlines on each plan page.