
How to Activate an eSIM on Samsung Galaxy (Step-by-Step)
 co:sim Team
To activate an eSIM on a Samsung Galaxy, open Settings, tap Connections, tap SIM manager, then tap Add eSIM and scan your provider's QR code (or let the phone search for your carrier automatically). The whole process takes about five minutes on Wi-Fi, and a data-only travel eSIM (mobile data only, no phone number) like co:sim's works the same way on Galaxy phones as it does on any other eSIM-capable device. This guide covers which Galaxy models actually support eSIM, the exact One UI menu path, all three setup methods Samsung supports, and the carrier-lock quirk that trips up more Galaxy owners than any other step.
#Which Samsung Galaxy Phones Support eSIM?
Not every Galaxy phone has an eSIM chip, and support varies more by model line than most Android phones. According to Samsung's official compatibility list, every Galaxy S phone from the S20 series through the current S26 series supports eSIM, along with the Galaxy Note20 and Note20 Ultra. The entire Galaxy Z Fold and Z Flip line supports it too, from the original Galaxy Fold and Z Flip through the latest Z Fold7 and Z Flip7 FE.
Support on the Galaxy A series is more selective: Samsung lists the A55, A56, and A36 (plus a few older A-series models) as eSIM-capable, but availability depends on region, and many budget A-series phones ship without an eSIM chip at all. On tablets, select Galaxy Tab S models (S9 and later, plus the Tab S10 FE) support eSIM, but Wi-Fi-only variants never do, since there's no cellular radio to attach a profile to.
If you're not sure about your specific model, Samsung's own check is the fastest way to confirm it before you buy a plan: go to Settings > Connections > SIM manager — if you see an Add eSIM option there, your phone supports it. A co:sim data-only plan (no phone number, just mobile data) installs the same way on any of these models.
#How Do You Add an eSIM on a Galaxy Phone?
Before you start, connect to Wi-Fi (mobile data alone often isn't enough to download the profile), confirm your model supports eSIM using the check above, and have your provider's QR code or account details ready. Samsung's support page confirms the entry point is the same regardless of carrier: Settings > Connections > SIM manager > Add eSIM.
#How Do You Scan the eSIM QR Code?
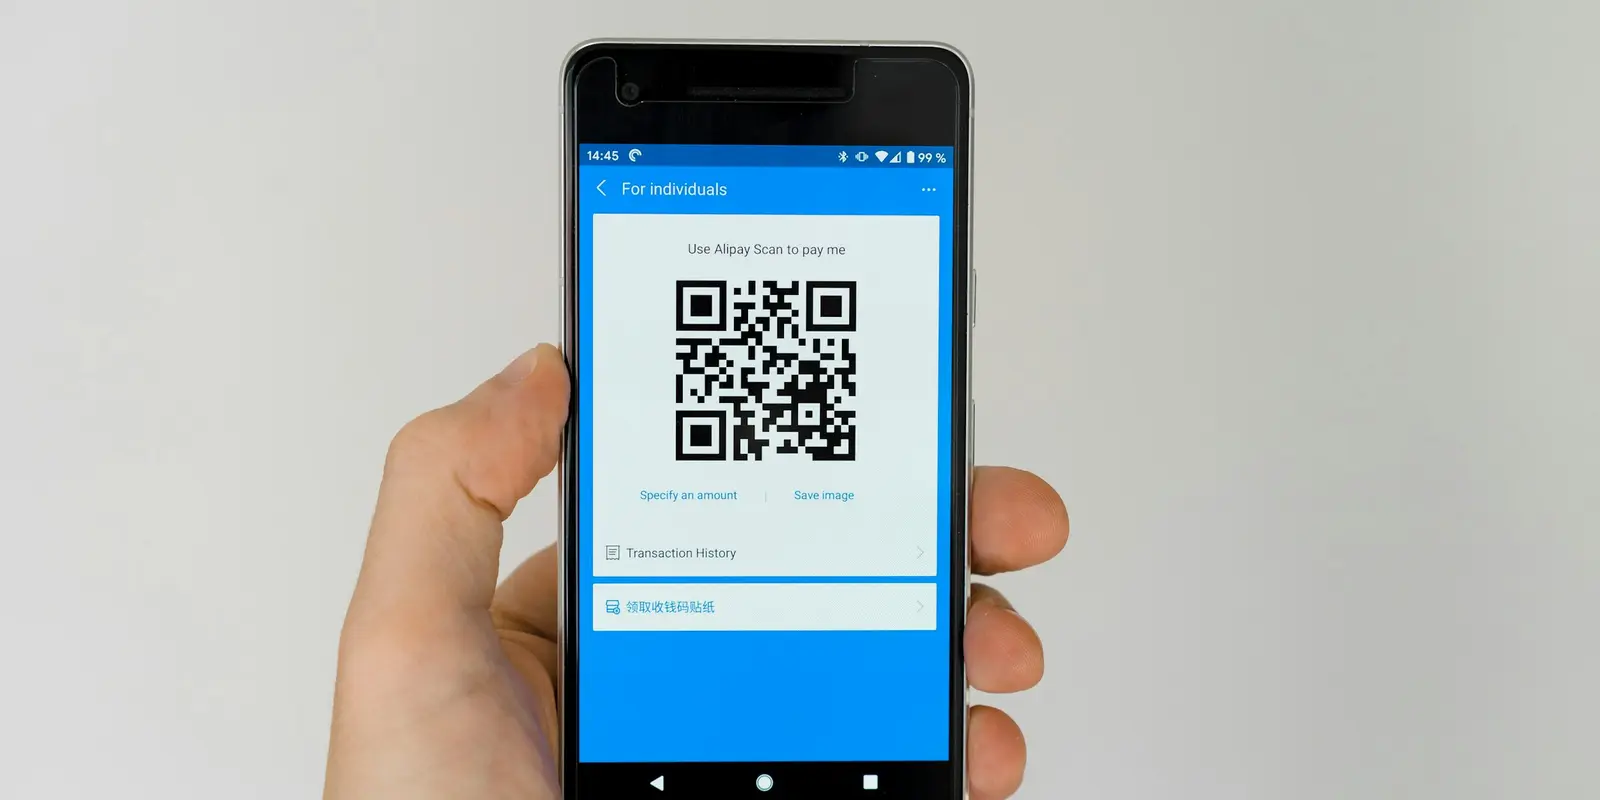
This is the most common method for travel eSIMs. From the Add eSIM screen, tap Scan QR code, point your camera at the code your provider emailed you, and confirm. co:sim sends this QR code by email within seconds of checkout, so you can install it on Wi-Fi before you ever reach the airport.
#How Does Automatic Carrier Setup Work?
Some carriers support what Samsung calls a Discovery Server setup: tap Add eSIM, and instead of scanning anything, the phone searches for a matching plan tied to your device or account and downloads it directly. This is common with postpaid US carrier plans but isn't how most travel eSIM providers activate a plan.
#How Do You Transfer or Manually Enter an eSIM?
If you're moving a number from an old Galaxy or an iPhone, Add eSIM also offers Transfer SIM from Galaxy/Android phone or Transfer SIM from iPhone, pairing both devices instead of scanning a code. When a QR code won't scan at all, most carriers support manually entering the activation code as a fallback. Once installed, check the plan's underlying network, install deadline, and reload support; each co:sim plan page lists those details directly, so you know before you fly whether a top-up is possible mid-trip.
#Why Won't My Galaxy Add an eSIM From a Different Carrier?
This is the quirk that catches the most Galaxy owners: a phone bought directly from a US carrier is often locked, and a locked phone refuses an eSIM from any other provider. Verizon's own device-locking FAQ confirms a locked device shows "SIM Not Supported" for any SIM, physical or digital, from a different carrier. Locking is carrier software layered on top of a fully capable eSIM chip, and it affects every provider equally, co:sim included. Check your lock status under Settings > Connections > Mobile networks > Network operators (turn off "Select automatically"; other networks appearing means you're unlocked), and request an unlock from your carrier first if you're not sure.
#What If eSIM Setup Fails on a Galaxy Phone?
A few failures show up repeatedly on Samsung's own support forums and are usually simple to fix:
- "eSIM Cannot Be Added" or a scan that won't complete — switch to Wi-Fi, and make sure you're scanning the live QR code rather than a screenshot (some carriers block screenshots on purpose, since they can be reused).
- The eSIM installs but shows no service — restart the phone; Samsung lists this as a required step after most eSIM installs, not an optional one.
- A QR code that was already used elsewhere — most travel eSIM codes are single-use per device; scanning it once and deleting the profile means you need a fresh code, not a rescan.
- Region-locked US models — recent US-market Galaxy phones enforce stricter region locking than older ones, which can block some foreign SIMs and eSIMs even on an otherwise unlocked device.
#FAQ
#Does every Samsung Galaxy phone have eSIM?
No. eSIM support depends on the specific model, not just the Android version. Samsung's compatibility page confirms the S20 series onward, the entire Z Fold/Flip line, select A-series phones (A55, A56, A36, and a few others, availability varies by region), and select Galaxy Tab S models from the S9 generation on; the Galaxy Note20 and Note20 Ultra also made the list. Phones older than the S20, most budget A-series models, and Wi-Fi-only tablets typically don't include an eSIM chip at all, no matter how new the software is. The fastest way to confirm your exact model is checking Settings > Connections > SIM manager for an "Add eSIM" option; if it's there, your phone supports it, and a data-only travel eSIM like co:sim's will install the same way any other provider's would, since the setup screen doesn't care which company issued the QR code.
#Can I use an eSIM and a physical SIM at the same time on a Galaxy?
Yes, on any Galaxy model that supports eSIM, you can run a physical SIM alongside it as a dual-SIM setup, keeping your home number active for calls and texts while the eSIM handles mobile data. Like most phones, a Galaxy keeps only one line's mobile data connection active at a time, so you pick which SIM is the data default in SIM manager rather than running both simultaneously. This is exactly how most travelers use a data-only eSIM: leave the physical SIM in for your existing number, add the travel eSIM through SIM manager, then set the new eSIM as the default for mobile data so you're not paying roaming rates on your home line. co:sim plans are designed for exactly this setup since they carry data only and no phone number, so there's nothing left to conflict with your existing line's texts and calls.
#Why does my carrier-locked Galaxy refuse a travel eSIM?
Carrier locking is software the seller adds to restrict the phone to its own network, separate from whether the eSIM chip itself works. A locked Galaxy will show "SIM Not Supported" for any SIM or eSIM from another provider, according to Verizon's own device-locking support page, regardless of which travel eSIM brand you're trying to install. This affects every third-party eSIM equally; it isn't specific to co:sim or any other provider. Check your lock status under Settings > Connections > Mobile networks > Network operators (turn off "Select automatically" and see if other networks appear), and request an unlock from whichever carrier sold you the phone if it's locked, before you buy a travel plan for an upcoming trip.
#Do I need Wi-Fi to add an eSIM on a Galaxy phone?
You need an internet connection to download the eSIM profile, and Wi-Fi is the most reliable option since mobile data alone sometimes isn't enough bandwidth or is blocked by the carrier you're setting up on. Samsung's guidance is to complete the whole process, from Settings > Connections > SIM manager > Add eSIM through the final restart, while connected to Wi-Fi. This matters most for travelers: install a co:sim Japan eSIM, for example, at home before departure while you still have reliable Wi-Fi, rather than trying to do it from an airport gate or a hotel with weak signal on arrival.
Adding a travel eSIM to a Galaxy phone takes about five minutes once you know the exact menu path, and the same steps work whether it's your first eSIM or your tenth.